
When it comes to deck safety and longevity, deck railing posts form the backbone of the entire structure. These vertical supports don’t just hold up a railing, they’re a critical component that keeps people safe and helps your deck withstand years of weather, weight, and seasonal movement. Building a code-compliant railing system with properly installed deck posts requires understanding local regulations, selecting durable materials, and executing solid installation technique. Whether someone’s refreshing an older deck or building from scratch, getting the posts right means fewer callbacks and a structure that lasts.
Key Takeaways
- Deck railing posts must comply with local building codes, including spacing no more than 6 feet apart, minimum height requirements of 36–42 inches, and the ability to withstand a 200-pound horizontal load.
- Selecting the right material for deck railing posts depends on climate and maintenance tolerance: pressure-treated wood is affordable but requires regular sealing, metal offers durability with minimal upkeep, and composite provides rot resistance at a mid-range price.
- Proper installation of deck railing posts requires secure concrete footings below the frost line, galvanized or stainless fasteners, and post bases that prevent water pooling and rot at the foundation.
- Annual inspections of deck railing posts catch early signs of damage, including wood rot, loose fasteners, and excessive movement, preventing safety hazards and costly repairs.
- Building permits are essential for railing installation, as skipping them creates liability, makes home sales difficult, and may violate local contractor licensing requirements.
Understanding Deck Railing Post Requirements and Codes
Deck railing posts aren’t just aesthetic, they’re regulated by the International Residential Code (IRC) and local building departments. Most jurisdictions require balusters and railings to stop a 4-inch sphere from passing through, and railings themselves must be at least 36 inches high (measured from the deck surface to the top of the railing). Some areas now call for 42 inches in certain situations, so checking with the local building authority before ordering materials is essential.
Posts themselves typically need to be spaced no more than 6 feet apart, though some codes allow 8 feet depending on railing type and balusters. Every railing system must be able to withstand a 200-pound horizontal load applied at the rail height without failing, this is where proper post anchoring matters. A post that looks solid but isn’t firmly fastened to the deck structure creates a collapse risk.
Building permits are almost always required for railing installation, and many jurisdictions will send an inspector before project completion. Skipping the permit saves a few dollars and a day or two, but it creates liability and makes selling the home harder. Check whether the work requires a licensed contractor: some areas restrict railing work to licensed professionals, while others allow homeowners to pull permits and DIY the job.
Choosing the Right Materials for Your Deck Posts
Wood vs. Metal vs. Composite: Pros and Cons
Pressure-treated lumber remains the most common choice for deck posts, typically 4×4 (actual dimensions roughly 3.5″ x 3.5″) or 6×6 (5.5″ x 5.5″). It’s affordable, easy to work with, and available everywhere. The downside: it requires periodic staining or sealing to prevent rot and splintering, and even treated wood eventually fails in wet climates after 15–20 years. Heartwood redwood and cedar are naturally rot-resistant and look great but cost significantly more and still need maintenance.
Metal posts (usually aluminum or steel) eliminate rot and wood-boring insects entirely. They’re sleek, require minimal maintenance, and last 25+ years with just occasional cleaning. The trade-off: they conduct heat and cold, making them uncomfortable to touch in extreme weather, and some people find them less visually warm than wood. Steel requires rust prevention: aluminum is naturally corrosion-resistant. Installation differs, metal posts often bolt or screw into deck framing rather than being buried in concrete, which changes the foundation approach.
Composite posts blend wood fiber with plastic resin. They won’t rot, splinter, or attract insects, and they bridge the aesthetic gap between wood and metal. They’re pricier than pressure-treated lumber but cheaper than premium hardwoods. But, they’re heavier than wood, which affects handling during installation, and some composites can sag under sustained loads if not properly supported. Not all composite products are rated for load-bearing railing applications, so checking the manufacturer’s specifications is critical.
Choose based on budget, climate, and maintenance tolerance. In wet climates or coastal areas, wood demands constant care: metal or composite makes more sense. In drier regions, pressure-treated lumber is reliable and budget-friendly.
How to Properly Install Deck Railing Posts
Installation starts with locating and marking post positions on the deck rim joist. Posts typically sit at the corners of the deck and at 6-foot intervals along the rim. Use a tape measure and chalk line to mark centerlines where each post will sit.
For wood posts, the traditional method uses a concrete footings. Dig a hole at least 12 inches deep (deeper in freeze-thaw climates, check local frost line depth), set a post base, and use quick-setting concrete. Let it cure fully (24+ hours) before attaching the post. The post base (a metal bracket that bolts or nails to the deck rim and concrete footing) is crucial, it prevents water from pooling at the post bottom and causing rot.
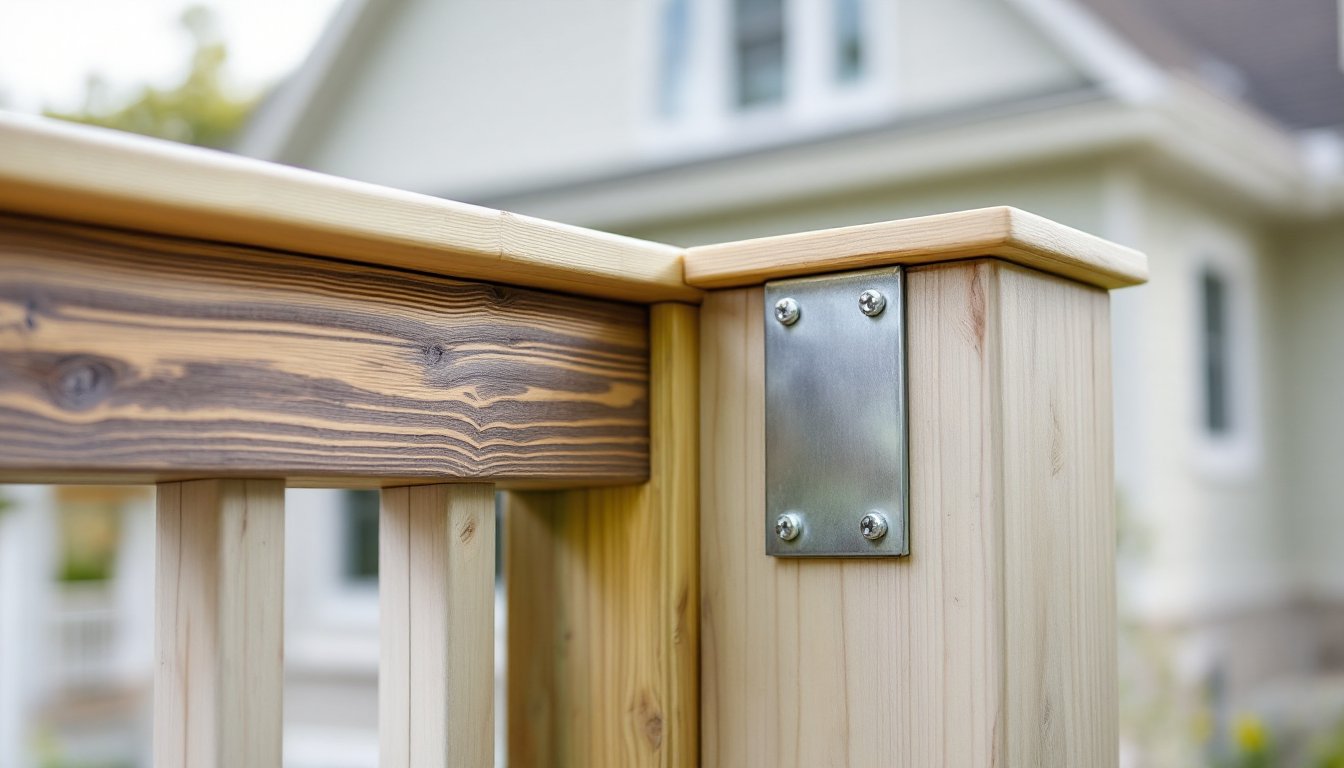
Attach the post to the base using galvanized or stainless fasteners to avoid rust staining and corrosion. For a 4×4 post, use 3/8-inch lag bolts or through-bolts, installed per the base manufacturer’s specifications. Don’t skimp on fasteners: undersize bolts are a common failure point.
Metal posts typically bolt directly to the deck ledger board or rim joist. Follow the manufacturer’s mounting pattern exactly. Use stainless fasteners even for aluminum posts, galvanized bolts can corrode against aluminum and cause electrolytic action.
Composite posts attach similarly to wood but require care around fasteners. Some manufacturers recommend stainless screws only: others specify bolts. Check the product manual before drilling.
After fastening, use a level to plumb the post in both directions. A post that’s even slightly tilted compromises the entire railing’s strength. Brace temporary supports if needed while fasteners set.
Spacing, Height, and Foundation Considerations
Post spacing depends on the railing style and balusters used. Vertical balusters can span up to 6 feet between posts if they’re sturdy enough to pass the 200-pound load test. Horizontal cables or vinyl insert panels may allow 8-foot spacing, but always verify with the railing kit instructions and local code. Closer spacing (4–5 feet) is safer and looks more substantial.
Railing height is measured from the deck surface to the top of the cap rail and must meet minimum requirements, typically 36 to 42 inches. Verify your jurisdiction’s requirement: some areas have bumped minimums to 42 inches in recent years. Posts themselves need to extend above the cap rail by an inch or so for proper fastening: a typical 4×4 post is 36–42 inches of exposed height plus fastening and below-deck anchor.
Frost line depth is critical for concrete footings. In northern climates with seasonal freezing, a post’s footing must extend below the frost line to prevent heaving, upward soil movement that can lift and tilt posts. Check local building codes or contact your county extension office for frost line depth. Typical depths range from 12 inches in mild climates to 48 inches in harsh northern areas. Posts installed above the frost line will shift annually, loosening connections.
For deck ledger attachment, if the railing posts sit at the house end of the deck, ensure bolts don’t interfere with the ledger board’s lag bolts or structural fasteners. Railing posts next to the ledger should be positioned to avoid conflicts and maintain the ledger board’s integrity. Some codes require a small gap (½ inch or so) between the post and ledger to allow for water drainage.
Maintenance and Longevity of Deck Posts
Wood posts are the maintenance workhorses. Every 2–3 years, inspect for soft spots, checking with a screwdriver to see if the wood compresses easily, a sign of rot. Stain or seal the posts annually or as needed: water is wood’s enemy, and a good water-repellent finish adds years to the structure. Pay special attention to the post base and the area where the post meets the concrete: that’s where rot starts. If rot appears, small areas can sometimes be cut out and filled with epoxy wood filler, but extensive rot means post replacement.
Metal posts need occasional cleaning (soap and water or a mild metal cleaner) to prevent staining and corrosion. Steel posts should be painted or powder-coated: aluminum can be left natural or sealed with a UV-protective clear coat. Inspect bolts and fasteners yearly: tighten any that’ve loosened from movement or vibration. If rust spots appear on fasteners, replace them with stainless equivalents immediately.
Composite posts are the lowest-maintenance option but aren’t maintenance-free. Inspect joints and fastener holes for water infiltration: if water gets inside the composite, it can swell and warp the post. Clean with mild soap and water: avoid pressure washers, which can damage the surface and force water into joints. Check fasteners for corrosion and tighten any that’ve loosened.
Regardless of material, inspect the entire railing system annually. Push and pull on the top rail and balusters to check for movement or flex: any excessive movement means posts or connections are loose. Addresses issues immediately, a loose railing today becomes a safety hazard and a much larger repair tomorrow.
Conclusion
Properly installed deck railing posts are non-negotiable for safety and durability. Understanding local codes, choosing materials suited to climate and maintenance tolerance, and executing solid installation technique pay dividends in decades of reliable service. Whether opting for traditional wood, weatherproof metal, or low-maintenance composite, the foundation, literally and figuratively, must be solid. Pull the permit, follow spacing and height rules, anchor posts below the frost line, and inspect annually. A well-built railing system keeps people safe and makes the deck a place people actually want to use.