
A smart light switch with dimmer combines automation, convenience, and energy savings in one compact device. Unlike traditional dimmers that only adjust brightness, smart dimmers let homeowners control lights remotely via smartphone, set schedules, integrate with voice assistants, and often include ambient light detection. Whether upgrading a single room or wiring an entire home, understanding how these switches work and what to expect during installation matters. This guide walks through the essentials, what they are, how they function, installation considerations, and the real-world benefits that make them worth the investment.
Key Takeaways
- A smart light switch with dimmer combines remote control, scheduling, voice integration, and automated brightness adjustment in one device that works with any bulb type, making it more versatile than individual smart bulbs.
- Trailing-edge dimming technology is essential for modern LED bulbs to prevent flickering and electromagnetic interference, while leading-edge dimmers work better with traditional incandescent and halogen fixtures.
- Most smart light switch installations require a neutral wire in your switch box; if one doesn’t exist, hiring a licensed electrician to run conduit costs $150–$400 per switch, so verify this before purchasing.
- Dimming lights to 50% brightness uses roughly half the power, with a smart light switch with dimmer saving $10–$20 yearly in high-traffic areas and paying back its $40–$150 cost within 3–6 years.
- Before buying, confirm hub vs. Wi-Fi direct compatibility with your smart home ecosystem (Alexa, Google Home, Apple, or SmartThings) and verify the switch supports your bulb wattage range to avoid installation complications.
- Voice commands, geofencing, and automated wake-up routines provide convenience and home security benefits, while extended bulb life and accessibility features add long-term value beyond simple energy savings.
What Is A Smart Light Switch With Dimmer?
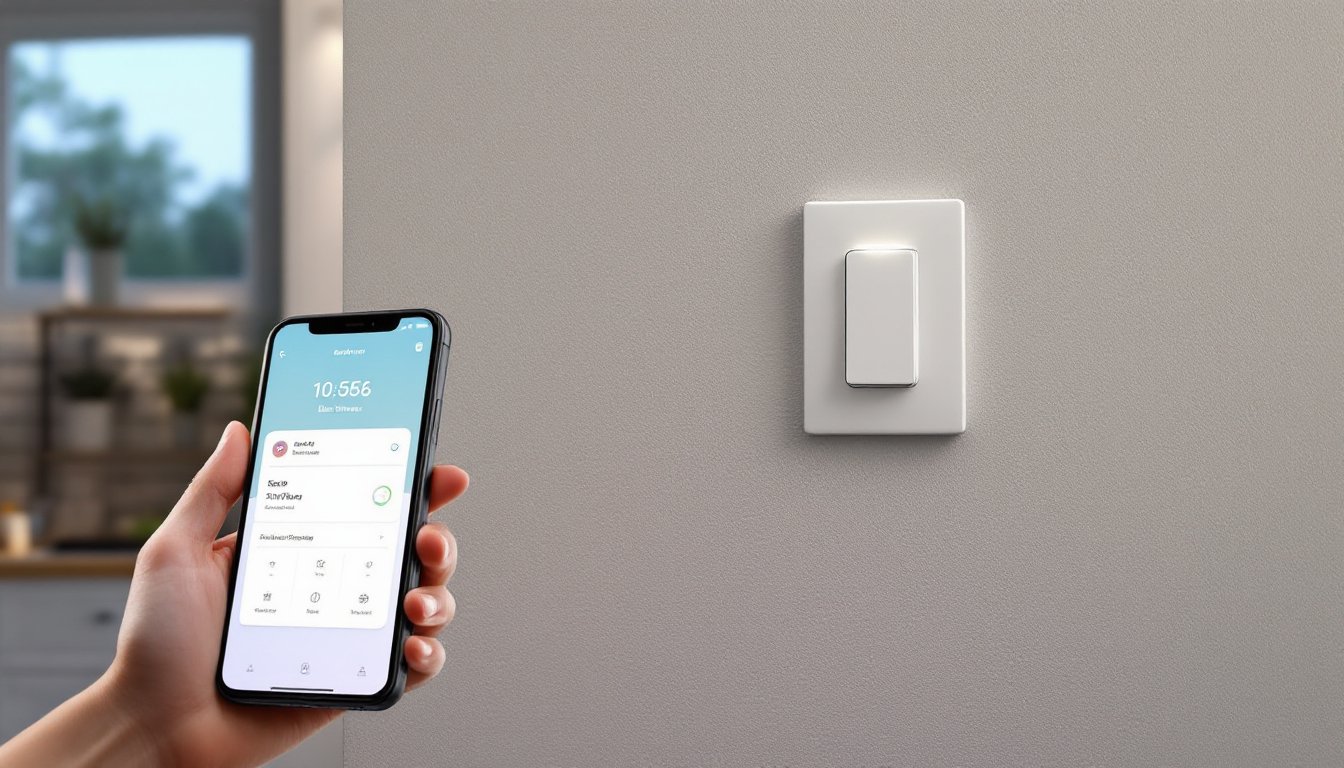
A smart light switch with dimmer is an intelligent replacement for a standard wall switch that controls both on/off and brightness levels while offering remote connectivity. Unlike a basic smart bulb (which requires replacing every bulb in a fixture), a smart switch controls any connected fixture, LED, incandescent, or halogen, making it more versatile and cost-effective in multi-bulb rooms.
These switches connect to home Wi-Fi or a proprietary hub and communicate with a central app or voice assistant. They typically feature a physical dial, slider, or touch panel for manual adjustments, so they work even if Wi-Fi drops. Many include scheduling, geofencing (triggering lights when you leave or arrive home), and integration with routines, for example, saying “Alexa, movie time” dims all lights and closes blinds simultaneously.
The dimming mechanism uses either leading-edge (traditional) or trailing-edge (electronic) technology. Trailing-edge (also called reverse-phase) works better with modern LED bulbs and causes less flickering and electromagnetic interference. Most quality smart dimmers specify which technology they use: check this detail if you’re upgrading existing fixtures with older bulbs.
Key Features And Functionality
Modern smart dimmers pack far more than simple on/off control. Here’s what to expect:
Remote Control & Automation – Adjust brightness from your phone or voice command, create scenes (“Good Morning” ramps lights to 100% over 2 minutes), and schedule lights to turn on before you wake or off when you leave. Geofencing automatically triggers actions based on location.
Voice Integration – Compatible with Amazon Alexa, Google Home, Apple Siri, or Samsung SmartThings. Commands like “Dim kitchen to 40%” work seamlessly once set up.
Occupancy & Daylight Sensing – Some models include motion sensors or ambient light detection, dimming automatically in daylight or turning on when motion is detected. Useful in hallways, bathrooms, or entryways where hands-free operation saves energy.
Scenes & Mood Lighting – Save favorite brightness levels and color temperatures (if RGB-capable) under custom names. Switch between “Reading,” “Dinner,” and “Relaxation” instantly.
Energy Monitoring – Premium models track power consumption in real time, helping identify phantom loads or energy-hungry circuits.
Multi-Switch Control – Link multiple dimmers so one switch controls lights in adjacent rooms or creates whole-home ambiance adjustments. This requires a hub or advanced app.
Not every switch includes all features. Budget models may skip motion sensing or advanced scenes, while premium versions add everything plus local processing (meaning they work offline if your internet drops).
Installation And Compatibility
Installation difficulty depends on your setup. If you’re comfortable turning off breakers and using a multimeter, a straight dimmer swap in an existing switch box is manageable: incompatible wiring (three-way switches, certain LED fixtures) can complicate things.
Wiring Requirements – A standard on/off switch uses two connections (line and load). Smart dimmers often need a neutral wire, a white conductor running back to the breaker panel. Many older homes lack neutrals in switch boxes, requiring an electrician to run conduit. Check your existing switch first: look for a white wire. If there’s no neutral, hiring a licensed electrician ($150–$300 per switch) beats fighting with code violations.
Bulb Compatibility – Leading-edge dimmers work with most bulbs but can flicker older LEDs. Trailing-edge dimmers are LED-friendly and recommended if you’re installing new lighting. Check the switch manual for minimum/maximum wattage. LEDs draw less power, so some dimmers require a minimum load (typically 10–40W) or a “compatible LED” list.
Hub vs. Hub-Free – Some switches connect directly to Wi-Fi (simpler setup), while others need a hub ($50–$100) for reliable performance. Hub-based systems often work better in larger homes where Wi-Fi signal drops.
Ecosystem Compatibility – A switch designed for Alexa may have limited HomeKit or SmartThings integration. Research compatibility before buying if you already own other smart home devices.
Rough-In Depth – Standard 86mm (US) switch boxes fit most dimmers, but deep-set switches or retrofit boxes in plaster walls may require spacers or custom plates. Measure your box depth before ordering.
Benefits For Your Home
Beyond novelty, smart dimmers solve real problems and reduce utility bills.
Energy Savings – Dimming lights to 50% uses roughly half the power. Over months, this adds up, especially in high-traffic rooms. LEDs amplify savings since they already consume 75% less energy than incandescent bulbs.
Convenience & Comfort – No more fumbling for light switches in the dark. Wake-up routines gradually brighten lights, easing circadian rhythm disruption. Movie scenes dim theaters and close blinds automatically.
Extended Bulb Life – Running bulbs at lower brightness extends lifespan. LEDs last 25,000+ hours at full brightness: dimming them often stretches this further.
Home Security – Schedule lights to simulate occupancy when traveling (lights on at dusk, off at 11 p.m.). Geofencing turns on entry lights as you approach the driveway.
Accessibility – Voice control and app adjustments help elderly or mobility-limited residents. No strength needed to adjust physical switches.
Resale Appeal – Home buyers increasingly expect smart home integration. A well-installed system in key rooms (kitchen, master bedroom, entry) boosts perceived value, though it’s rarely a dollar-for-dollar ROI.
Cost And Budget Considerations
Smart dimmers range from $30 budget models to $150+ premium units. Here’s where money goes:
Switch Cost – Basic Wi-Fi dimmers run $40–$70. Hub-based systems cost $50–$80 per switch plus $60–$100 for a hub. Premium brands (Lutron, Control4) exceed $200 per switch but include advanced features and longer warranties.
Installation Labor – If a neutral wire exists, a handy person can install one switch in 20 minutes. No neutral? An electrician charges $150–$400 per switch to fish a neutral from the panel (varies by region and wall accessibility).
Hub & Accessories – Hubs run $60–$150 depending on brand. Wall-mounted dimming panels, RF remotes, or additional switches add $50–$100 each.
Total Project Example – Upgrading a kitchen with four switches: $250–$320 for switches (if neutral exists) plus 1–2 hours of your labor, or $800–$1,500 if hiring an electrician. Prices fluctuate by region and material availability: get local quotes.
Long-Term Savings – A $60 switch saves roughly $10–$20 yearly in energy costs if it’s in heavy-use areas (kitchen, hallway). Payback takes 3–6 years, but the convenience and security benefits justify the cost for many homeowners sooner.
Top Factors To Consider Before Buying
Before clicking “Add to Cart,” verify a few critical details:
1. Neutral Wire Availability – Do you have a neutral in the switch box? If unsure, hire an electrician for a $50–$100 inspection. Without it, installation costs spike or becomes impossible in some setups.
2. Dimming Technology – Choose trailing-edge for modern LED fixtures: leading-edge works with traditional bulbs. Confirm the switch supports your bulb type and wattage range.
3. Ecosystem – Does the switch integrate with your existing Alexa, Google, Apple, or Samsung ecosystem? Mixing incompatible systems creates frustration.
4. Hub or Wi-Fi Direct – Hub-based systems are more reliable in larger homes but add cost and require placement near the router. Wi-Fi direct is simpler but less robust.
5. Three-Way Switches – If a switch controls one light from two locations, smart conversion requires either two smart switches (more expensive and complex) or keeping a dumb switch paired with a smart one. Clarify this with the manufacturer.
6. Warranty & Support – Look for 2–3 year warranties and responsive customer support, especially if you plan to wire multiple switches.
7. Size & Aesthetic – Smart switches are bulkier than standard ones. Check dimensions and ensure they fit your wall boxes and match your décor preferences.
Conclusion
A smart light switch with dimmer offers genuine convenience, energy savings, and home automation potential, if properly matched to your wiring, bulbs, and smart home ecosystem. The key is upfront planning: confirm you have a neutral wire, choose the right dimming technology, and verify compatibility before installation. Whether tackling the project yourself or hiring a professional, the investment typically pays for itself within a few years through energy reduction and the immeasurable value of better lighting control. Start with one or two high-traffic rooms to test the system before expanding throughout your home.