
Installing deck railing posts is one of those projects that separates a safe deck from a liability. Get it wrong, and the posts can shift, loosen, or fail under lateral load, potentially putting someone through the railing. Get it right, and those posts will hold for decades. The good news: homeowners with basic carpentry skills can tackle this task, provided they understand the structural fundamentals and don’t cut corners on concrete placement and fastening. This guide walks through the entire process, from material selection through final bracing, so anyone can install deck railing posts with confidence.
Key Takeaways
- Installing deck railing posts requires proper post placement at 4–6 foot intervals, holes dug 3+ feet deep depending on frost lines, and a solid concrete foundation mixed to peanut butter consistency for structural stability.
- Posts must be set perfectly plumb and braced with temporary 2×4 kickers until concrete fully cures (28 days minimum), with braces remaining in place for at least one week to prevent shifting and racking.
- Use galvanized or stainless steel fasteners (¾-inch lag bolts, 8–10 inches long) and concrete piers or post bases, then retighten all bolts one week and one month after installation as concrete shrinks during curing.
- Check local building codes to ensure your deck railing posts meet the 200-pound lateral force requirement and are spaced to prevent railing failure under sideways stress.
- Sand cut post ends to reduce splintering, slope concrete away from the post base to shed water, and perform quarterly inspections in the first year, then annually, to catch bolt loosening before it becomes a safety hazard.
Tools and Materials You’ll Need
Before breaking ground, gather the right kit. Doing so prevents mid-project hardware store runs and ensures a professional, code-compliant installation.
Materials:
- 4×4 pressure-treated lumber posts (or 2x4s, depending on code and railing layout)
- Concrete mix (typically 80-lb bags: calculate 6–8 bags per post hole, 3 feet deep)
- Post footings or concrete piers (optional but recommended: adjustable post bases or galvanized brackets)
- Stainless steel or galvanized lag bolts or screws (¾-inch diameter, 8-10 inches long)
- Washers and nuts to match bolt diameter
- Simpson Strong-Tie or equivalent post-to-deck connections (metal straps or angles)
- Deck screws or nails (outdoor, corrosion-resistant)
Tools:
- Tape measure, speed square, level (24–32 inches)
- Circular saw or miter saw (for cutting posts to length)
- Post hole digger or power auger (for depths beyond 18 inches, a power auger saves shoulders)
- Shovel, wheelbarrow
- Mixing bucket, mixing paddle, or concrete mixer
- Socket wrench set
- Drill-driver and bits
- Clamps, carpenter’s pencil, chalk line
- Safety gear: work gloves, eye protection, dust mask (concrete), steel-toed boots
Safety Note: Always wear eye protection when drilling and gloves when handling concrete. Concrete is caustic and can irritate skin over time.
Assessing Your Deck and Planning Post Placement
A solid plan eliminates guesswork and rework. Start by understanding what the code requires in your jurisdiction. Most U.S. building codes (IRC, for example) mandate that deck railings resist 200 pounds of lateral (sideways) force and that posts support their load without deflecting more than 1/8 inch under that force. Check local requirements: some regions have stricter standards.
Measure the deck perimeter and identify where posts need to go. Posts typically sit at corners and at intervals no greater than 6 feet apart (often 4–5 feet is safer). Mark these locations with chalk or spray paint on the deck surface. If the deck sits on an existing rim board, confirm that rim is solid and not rotted: a soft, spongy rim means the post connection will fail, and that rim needs replacement before proceeding.
Consider whether posts sit in ground-level holes or attach above-ground to the deck band board. Ground-level posts are common for upper-deck railings: above-ground posts suit lower decks where deep holes aren’t feasible. Verify that the deck framing can support the concentrated load of the railing posts, typically 4×4 posts add roughly 50–80 pounds each, plus dynamic sideways force.
Preparing the Posts and Concrete Footings
Preparation is where most DIYers stumble. Measure and mark all posts to final height before installation. Posts typically extend 36–42 inches above the deck surface (check local code). Cut all posts to length using a miter saw for clean, square cuts. A circular saw works, but a miter saw gives cleaner, faster cuts with less tearout. Pressure-treated wood can splinter: sand cut ends lightly to reduce splinter risk.
Next, prepare the holes. For ground-level posts, dig holes a minimum of 3 feet deep, deeper in frost-prone climates (consult local frost depth: many northern regions require 4+ feet). Holes should be 2–3 times the width of the post (a 4×4 post needs at least a 10-inch-wide hole). Remove any loose soil and tamp the bottom firm. Loose subsoil will settle, and your posts will drop with it.
If using concrete piers or adjustable post bases, set them in a shallow bed of concrete (2–3 inches) at the bottom of the hole, then mix concrete around them. This gives the post a level, adjustable base. If pouring directly into the hole, add 4 inches of gravel at the bottom for drainage, posts in standing water rot faster than anywhere else.
Setting Posts in Concrete
Mix concrete to a peanut butter consistency, thick enough to support the post but loose enough to pour and work out air pockets. Use a concrete mixer or mixing paddle in a wheelbarrow: hand-mixing large batches is exhausting and often produces uneven mix.
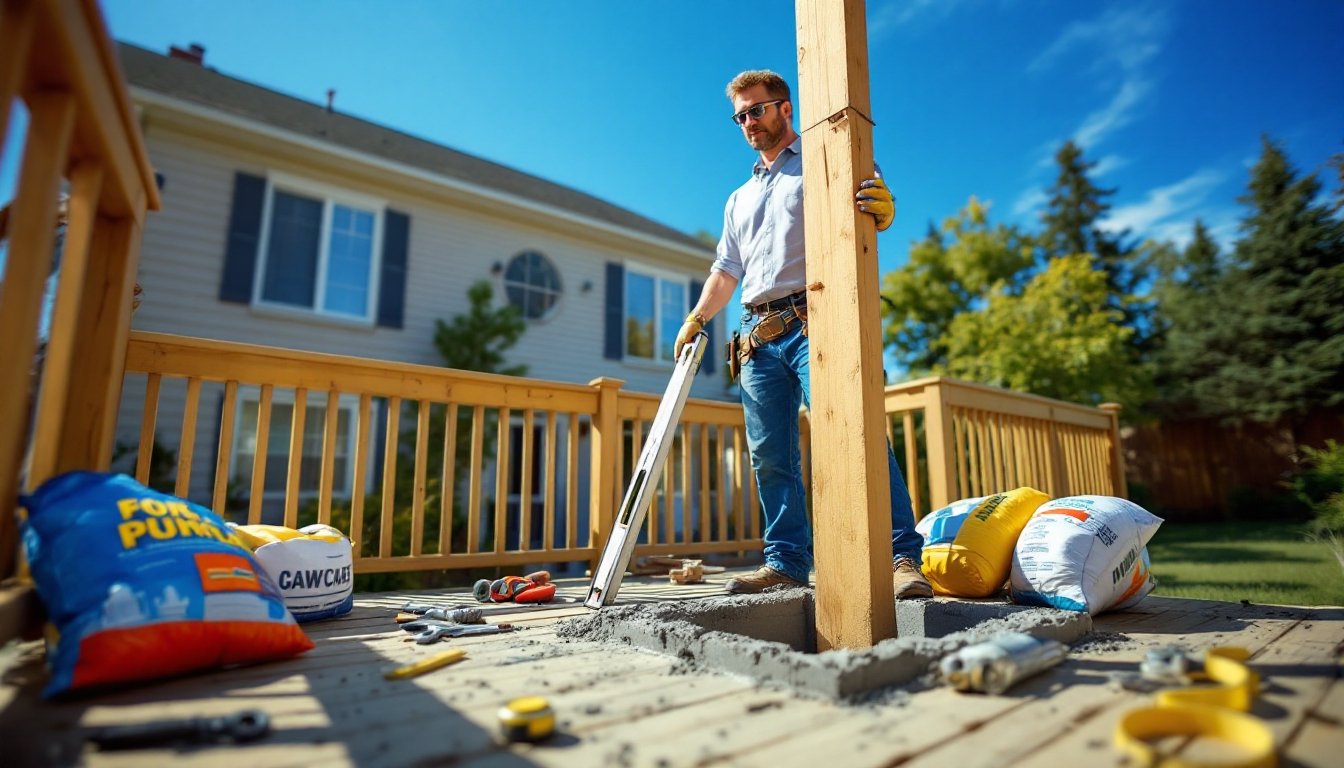
Set the post into the hole and check for plumb (vertical) in two directions using a 24-inch or longer level. Prop it temporarily with 2×4 braces (also called kickers) nailed to the post and staked to the ground, one on each side. Adjust until the post is dead-plumb: even a 1/2-inch deviation at the top will throw off the railing alignment and stress the connection.
Once plumb, pour concrete around the post in layers. Pour 12 inches, vibrate gently (tap the post and hole edges with a shovel handle to release air), then pour another 12 inches, and repeat until the hole is filled to grade. Overfill slightly, the concrete will settle as it cures. Slope the surface away from the post (about 1/4 inch per foot) to shed water. Concrete gains most of its strength in the first 7 days but isn’t fully cured for 28 days: leave bracing in place for at least a week, then remove it carefully.
Securing Posts Above Ground Level
For posts attached to the deck band board or rim, the approach differs. Use galvanized or stainless steel post bases rated for the post size and load. Lag bolt these bases to the rim board using ½-inch bolts, 8–10 inches long, spaced per the base manufacturer’s instructions, typically 16 inches apart. Drill pilot holes first: concrete-coated lags can split rim boards if driven directly. Tighten bolts firmly but don’t over-torque: crushed threads are worse than loose bolts.
Slide the post into the base and secure it with bolts or heavy-duty screws specified by the base maker. Above-ground posts don’t benefit from concrete weight, so the mechanical connection must be rock-solid. Tighten every fastener with a socket wrench, snug, then one more quarter-turn.
Bracing and Alignment
Before installing railing balusters (the vertical spindles), confirm all posts are perfectly vertical and aligned in a straight line. Snap a chalk line between posts at a consistent height (railing code usually specifies 36 inches from the deck surface to the top of the railing). If posts deviate from this line by more than 1/4 inch across a 6-foot span, adjust by slightly loosening the connection bolts, shimming, and re-tightening.
For long runs of railing, temporary diagonal bracing (a 2×4 from the corner of one post to the bottom of another) adds rigidity while concrete cures and prevents racking. Remove these braces after one week. If the posts shift during curing, loosen braces, reset, and re-tighten.
Finally, verify that all fasteners are tight. Retighten bolts one week after installation and again one month later: concrete shrinks slightly as it cures, and bolts may loosen. A loose railing post is a safety hazard and will eventually separate from the deck. Quarterly inspections for the first year, then annual checks, will catch creep before it becomes a problem.
Conclusion
Installing deck railing posts correctly, plumb, properly braced, and set in solid concrete, is the foundation of a safe railing system. Homeowners who pay attention to frost depth, post alignment, fastener torque, and periodic retightening will have railings that serve for two decades or more. Don’t rush the concrete cure, skip the bracing, or trust a loose bolt. A few extra days and a few tight turns with a wrench now prevent a call to the emergency room later.